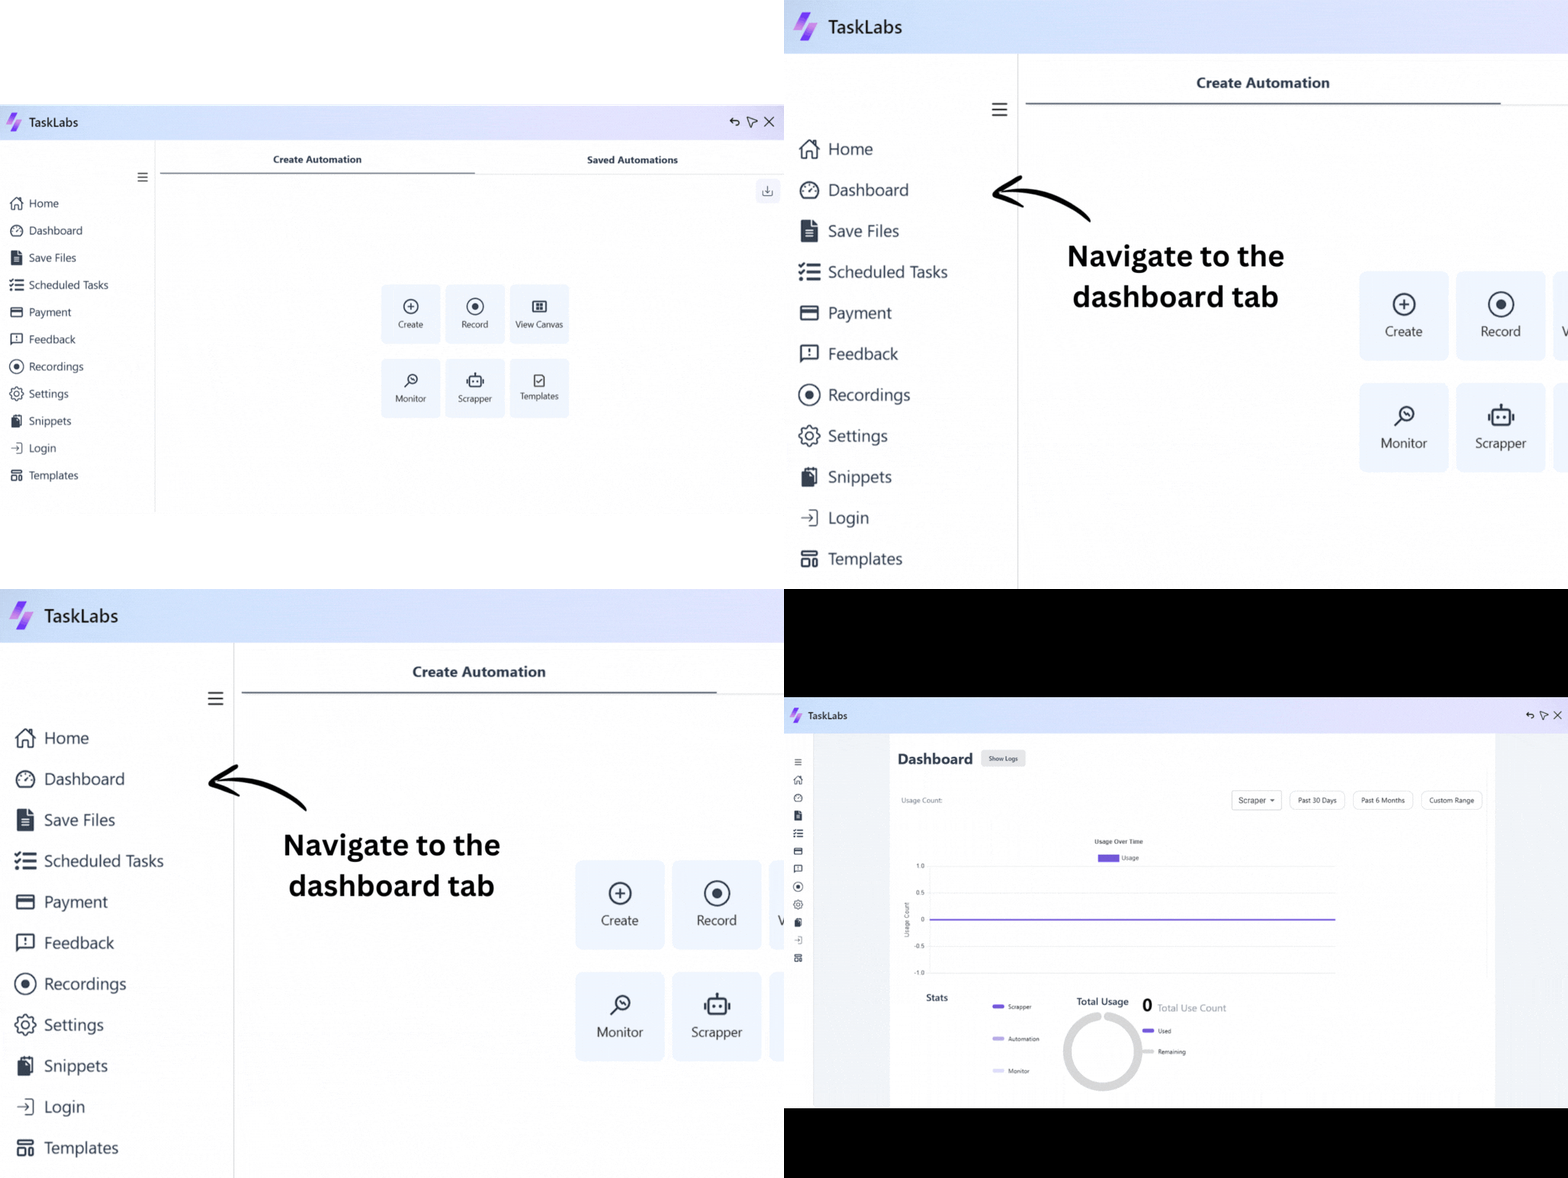
Data Monitoring Dashboard
Utilize TaskLabs Data Monitoring Dashboard to keep track of your automation activities and resource usage efficiently. Set up intelligent tracking with AI assistance and automated alerts.
Create Data Dashboard
Start by creating a new data dashboard:
- Press Alt+A and click on "Data Dashboards"
- Choose "Simple Tracking" to get started
Configure Dashboard
Set up your dashboard parameters by entering the field names of the table and row names. Select the website values you want to track, define data collection intervals, and specify the elements to monitor for changes.
Save Dashboard
Save your configured dashboard with flexible sharing options:
- Save privately for personal use
- Share with others in your organization
Monitor Table
Access your dashboard to view real-time data in organized tables. Monitor trends, analyze patterns, and track changes over time. Use filtering and sorting options to focus on specific data points and export data for further analysis.

AI Tracking
Leverage artificial intelligence to analyze and score your tracked data. Get intelligent insights by asking AI to evaluate selected elements based on your criteria.
Select AI Tracking
Choose the AI tracking option for your dashboard element. This enables intelligent analysis of your tracked data using machine learning algorithms.
Configure AI Prompt
Set up your AI analysis by providing detailed prompts. For example, ask AI to score job descriptions based on your skills and experience. Define the evaluation criteria and scoring methodology.
Define Skills & Experience
Input your skills, experience level, and preferences. The AI will use this information to provide personalized scoring and recommendations for the tracked elements.
Review AI Results
Monitor AI-generated scores and insights in your dashboard. View detailed analysis, understand reasoning behind scores, and track how AI evaluations change over time.

Alert-Based Tracking
Set up intelligent alerts that notify you when tracked values reach specific thresholds. Configure conditions and receive notifications via multiple channels.
Enable Alert Tracking
Activate alert-based tracking for your dashboard elements. This allows you to set up automated notifications based on data changes and thresholds.
Set Threshold Conditions
Configure alert conditions by setting thresholds (above, below, or equal). Define the trigger values that will activate your alerts and specify the frequency of checks.
Customize Notifications
Create custom notification messages for your alerts. Choose notification channels (email, SMS, in-app) and personalize the message content to provide clear context about the triggered condition.
Monitor Alert Status
Track your alert performance and history. View triggered alerts, adjust thresholds based on patterns, and manage notification preferences to optimize your monitoring workflow.

Webhook Integration
Integrate your tracking data with external systems using webhooks. Send real-time data updates to your preferred applications and services automatically.
Setup Webhook
Enable webhook integration for your tracking dashboard. This allows you to send data updates to external applications and services in real-time.
Configure Webhook URL
Provide your webhook URL endpoint where data should be sent. Configure authentication headers, request methods, and data format preferences to match your receiving system requirements.
Set Trigger Conditions
Define when webhooks should be triggered - on data changes, at specific intervals, or when certain conditions are met. Configure retry policies and error handling for reliable data delivery.
Test & Monitor
Test your webhook configuration and monitor delivery status. View webhook logs, track success rates, and troubleshoot any integration issues to ensure reliable data flow.
